CG Compositing Series – 1.2 Categories of Passes
Download the project files for this video here to follow along:
1.2 Categories of Passes Files – Nuke scripts and slides only (2.8 MB)
If you haven’t downloaded the FruitBowl Renders already yet, you can do so now:
You can Choose to either download all 3 FruitBowls at once:
FruitBowl_All_Renders_Redshift_Arnold_Octane.zip (1.61 GB)
Or Each FruitBowl Render Individually for faster downloads:
FruitBowl_Redshift_Render.zip (569.1 MB)
FruitBowl_Arnold_Render.zip (562.8 MB)
FruitBowl_Octane_Render.zip (515.4 MB)
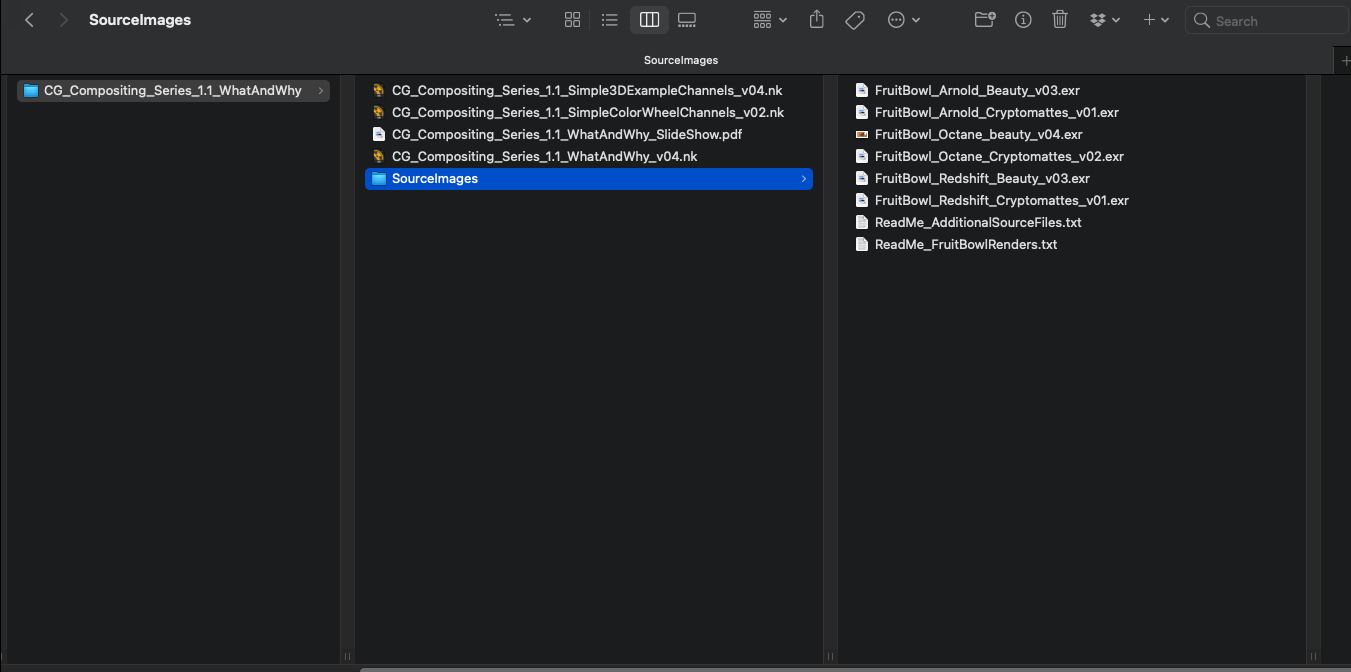
The project files and the Renders are separate downloads, so if you have already downloaded 1.1 What and Why files or the Fruitbowl Renders, there are a couple ways to combine them to work.
- Either add the .nk script to the previous package (in the folder above SourceImages, with the other .nk scripts)
- Or simply drop the Render files into the SourceImages folder of the new 1.2 project folder

This will help the Read nodes auto-reconnect to the sourceImages for you.
Often there are a lot of renders passes to sort, and it’s useful to divide them into categories based on their functions. We can divide up all the render passes by how they are used.
There are 2 Overarching Types of CG Passes:
- Beauty Rebuild Passes – Will recreate the Beauty Render
- Data Passes – Helper passes
There are 4 Main Categories of CG Render Passes
- Material AOVs
- Light Groups
- Utilities
- IDs


Material AOVs
- Used to adjust the Material Attributes (Shader) of objects in the scene
Examples:
- Diffuse, Specular, Reflection, Sub-Surface Scattering, Refraction, Texture/Color, Emission, Raw Lighting, etc.

The passes in this category should add up to recreate the beauty render, as demonstrated in the previous video
From now on in the series, if I only say “AOVs”, I am referring to this category here. I will try my best to say Material AOVs, but I am so used to it being in my terminology and don’t find the AOV “all render pass” definition very useful.
Material AOVs are passes related to the shader or material from the 3D application. When we use these passes, we are wanting to manipulate the material or the shader of the object
Extra Research on Materials:
Material Attributes & Properties | 3D Wombat
Sources for Material images:
Everyday Material Collection for C4D – Greyscalegorilla
Realistic Vray Materials I by AlexCom | 3DOcean
Light Groups
- Used to adjust the Individual lights in the scene
Examples:
- Key, Rim, Fill, HDRI, Light-Emitting Objects, etc.
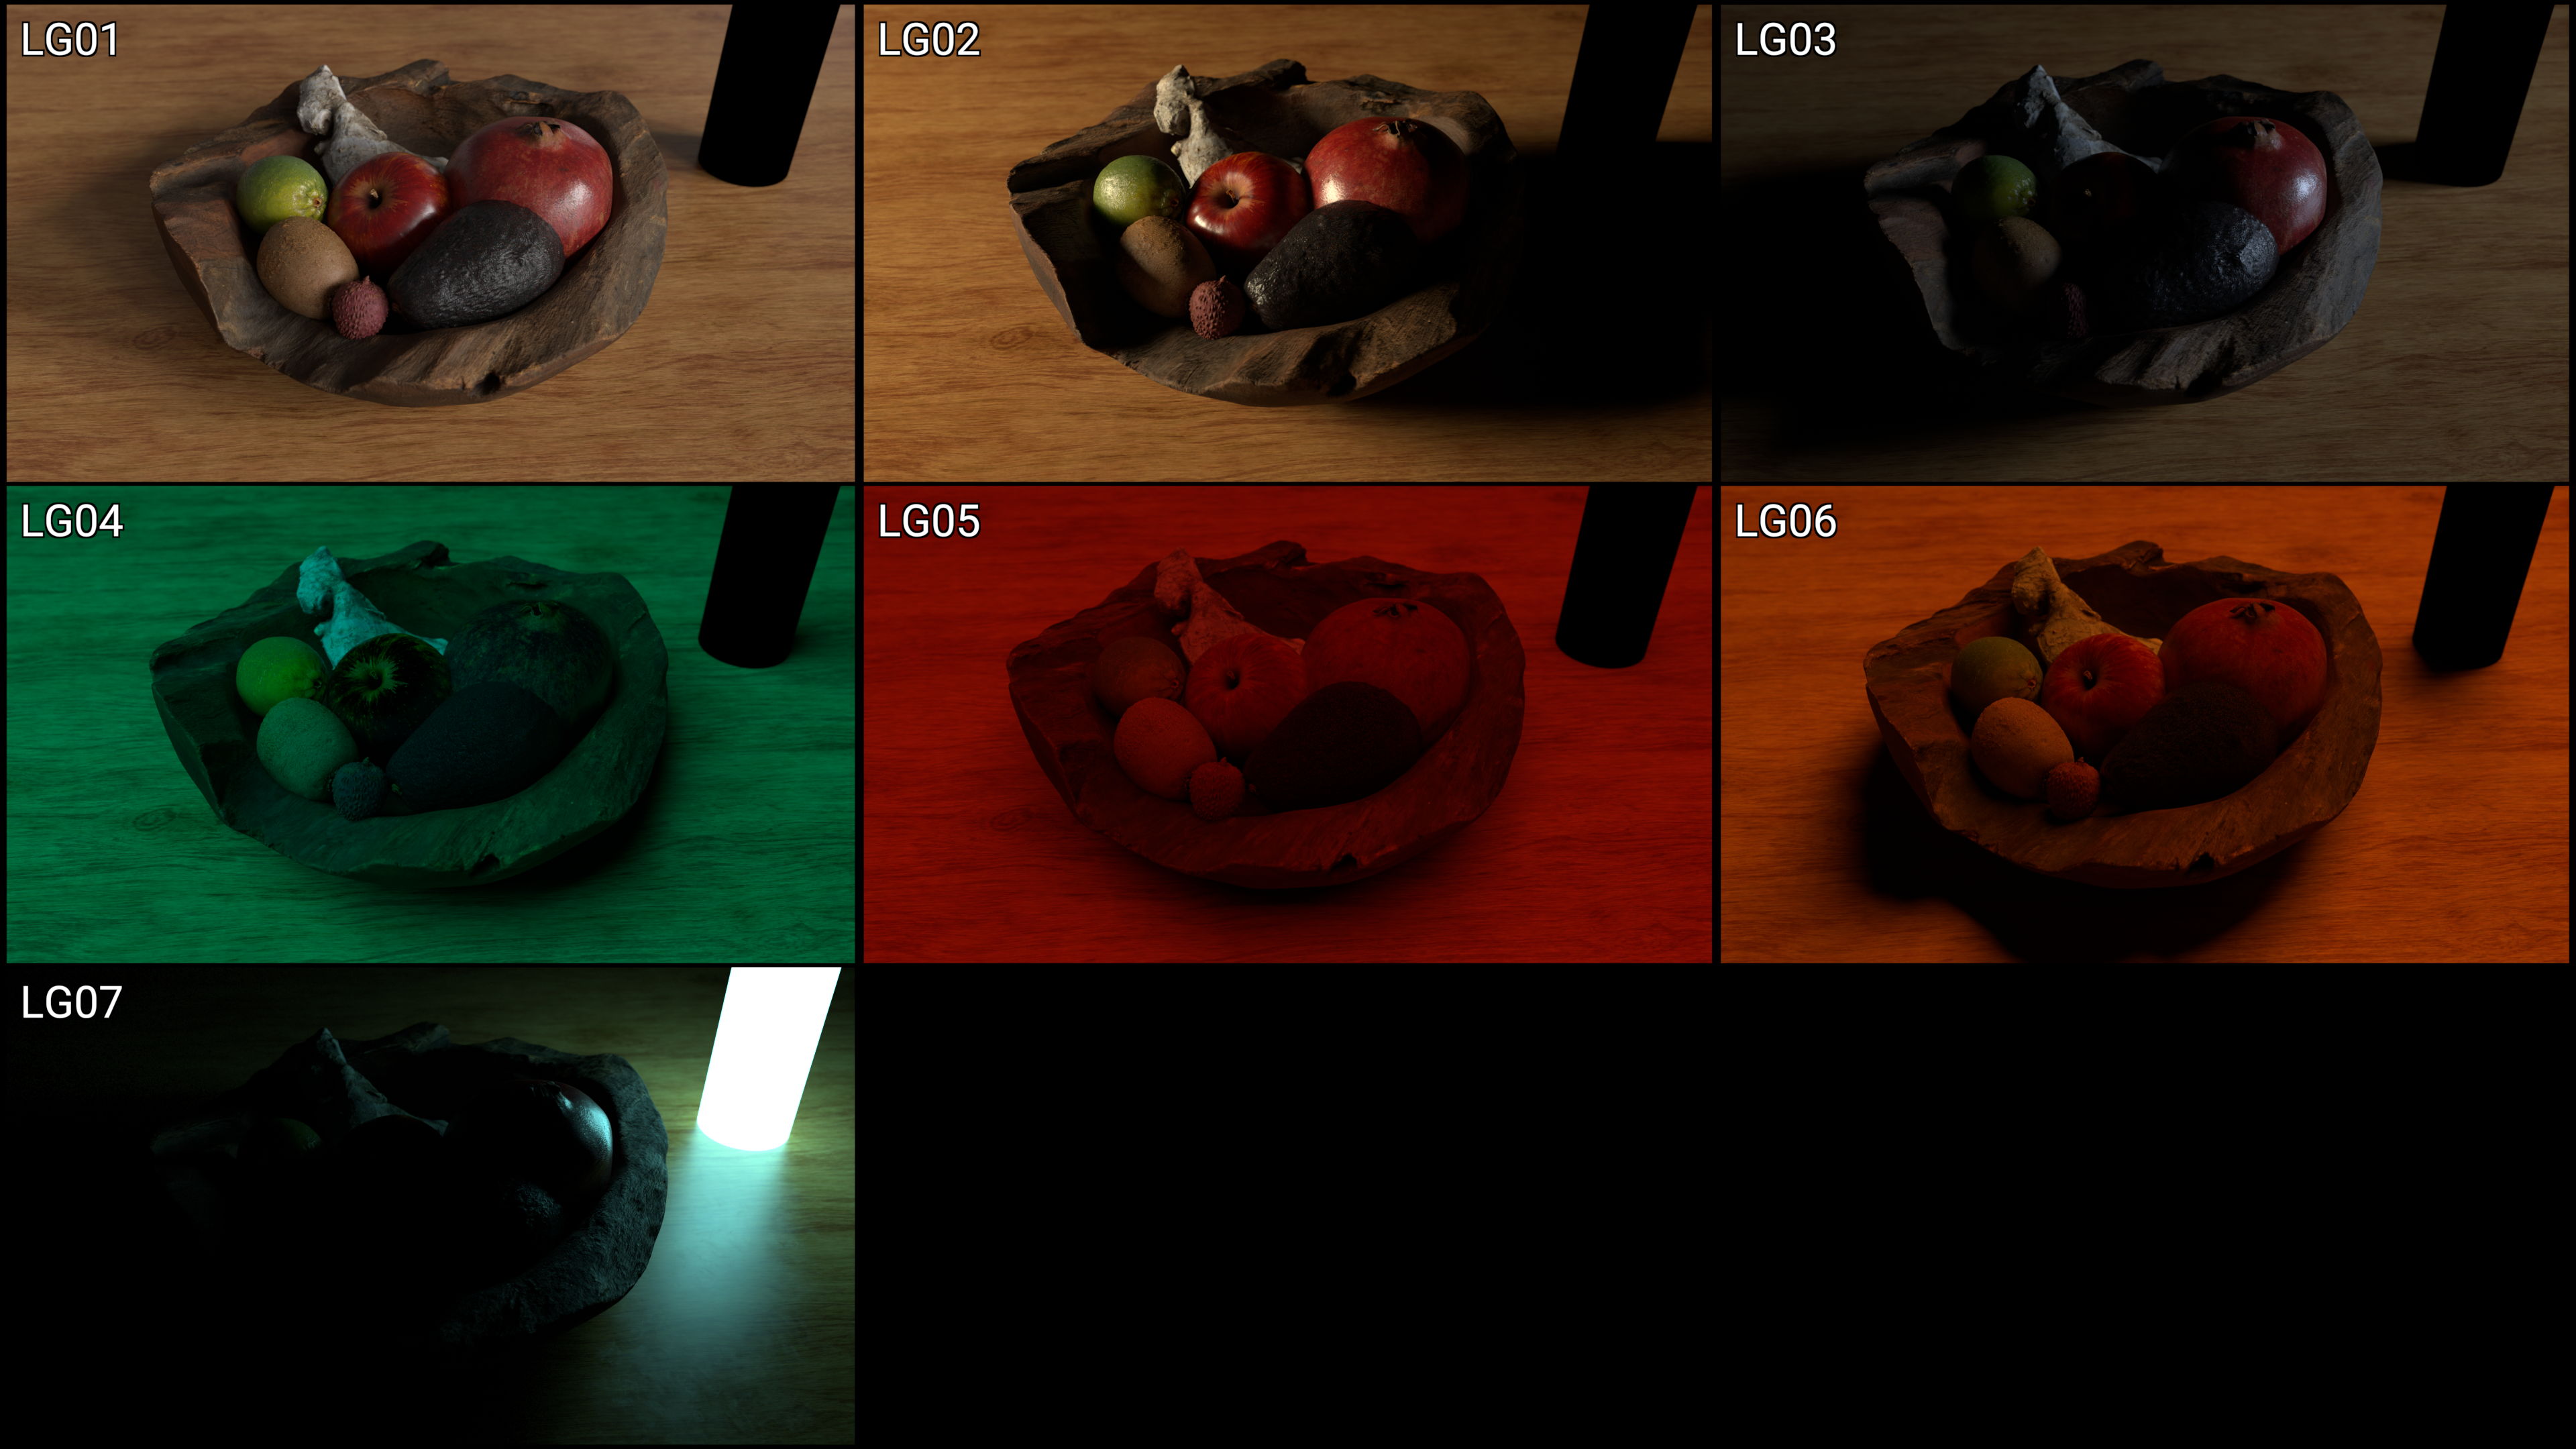
You can separate your lights however you like. Usually you see things like the 3 point lighting set up broken out into different lights. Along with HDRI and light emitting objects separated.
We are usually adjusting light attributes such as temperature and intensity
3 point lighting reference:
Types of Film Lights (and How to Use Them)
In the fruitbowl renders, I have just named the lights LG01, LG02, etc
References, extra reading material on lights and light groups:
Setting Up Proper AOV’s and LightGroups With Arnold – Lesterbanks
The Basics of Three Point Lighting for Portraits
Three Point Lighting – Morgan Adams Next Gen Blog
Utilities
- Used in combination with tools to achieve various effects like defocus, motion blur, re-lighting, etc
Examples:
- Depth, Motion Vectors, Normals, Position, Ambient Occlusion, UVs, etc
These do not add up to the Beauty Render

References:
Render Elements – V-Ray 5 for 3ds Max – Chaos Help
VRayNormals – V-Ray 5 for 3ds Max – Chaos Help
IDs
- Used to create alphas or mattes for different areas of the render
Examples:
- RGB IDs, Object IDs, Texture IDs, Cryptomattes, etc
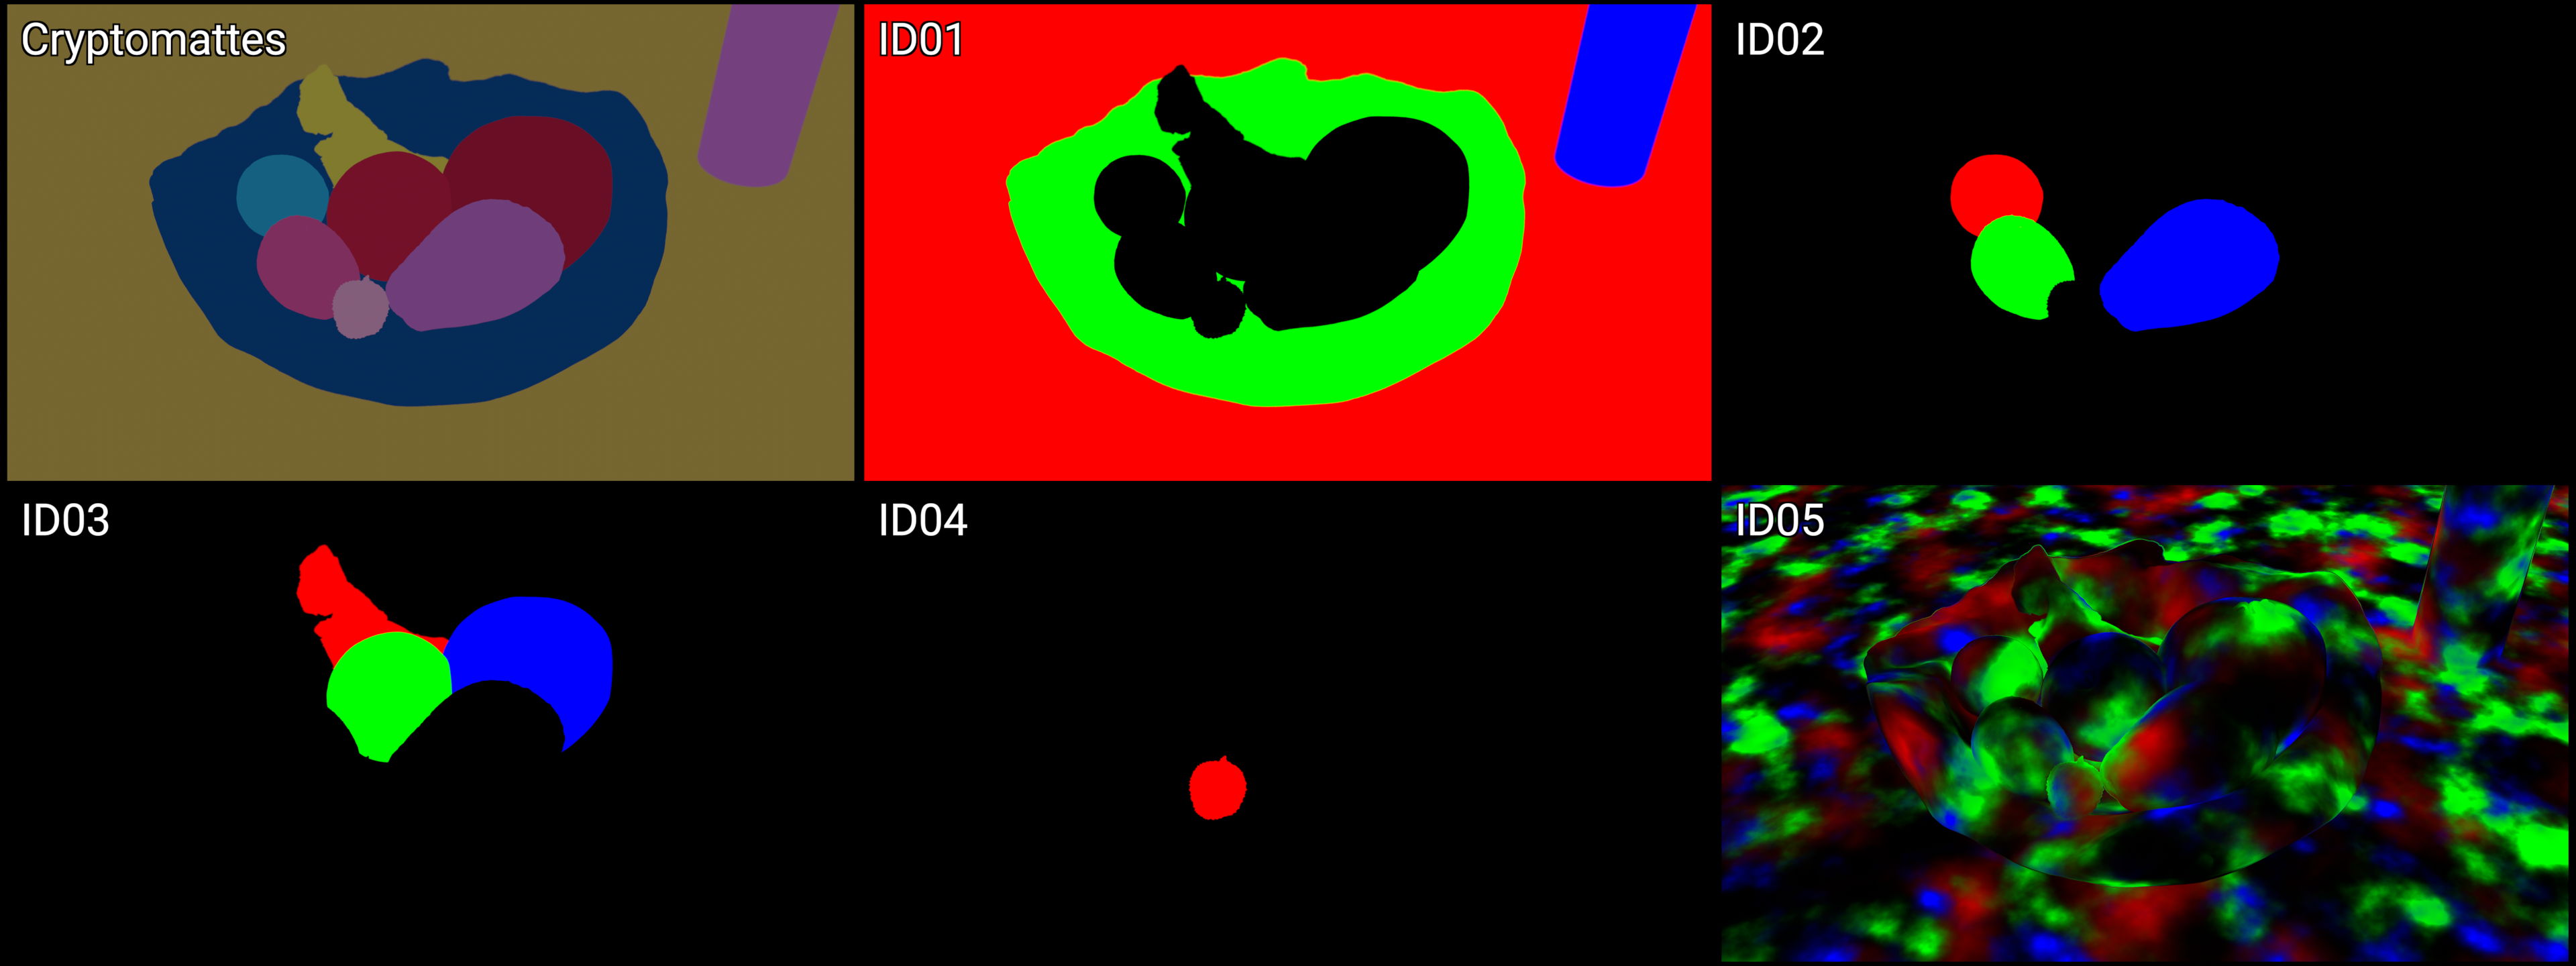
The ID category could probably live under the Utilities Category, but I do think the separation of these 2 categories is useful.
ID’s sole purpose is to pull out an alpha or matte channel, whereas Utilities can have many use cases beyond just that.
Many times a texture artist working on characters will make custom texture matte passes that can be rendered out as Texture RGB IDs to help isolate those important parts of the texture for adjustment in comp.
These also do not add up to the Beauty Render
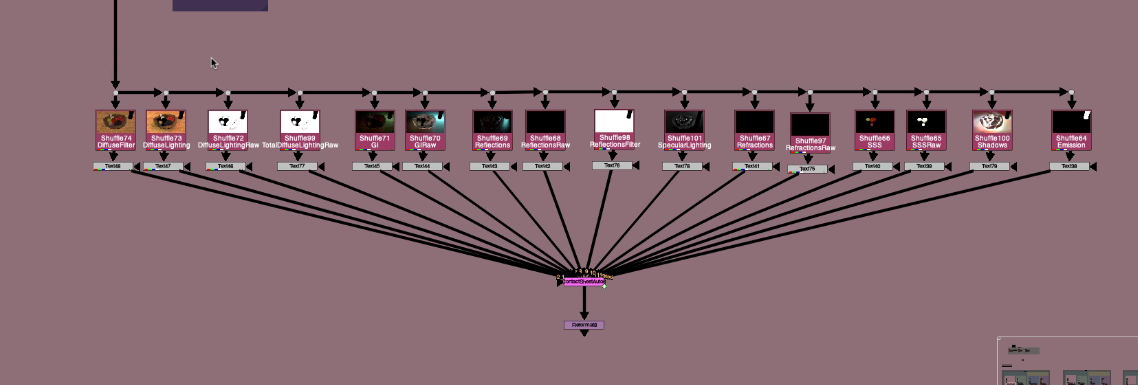
Nuke Script: Breaking out Categories of the Renderers
Nuke script is a node graph representation of the slides table we looked at and I’ve broken out the passes in the categories for each of the 3 render engines.
In order for the LayerContactSheet node to display just the passes for each category, I am removing all layers from the other categories.
Useful Unlimited Remove tool:
K_Remove – Nicolas Gauthier
http://www.nukepedia.com/gizmos/channel/k_remove
I’ve also broken out all of the Category’s Layers into shuffles when a text of the layer name into a contact sheet. The main difference would be that this contact sheet would be renderable, and the UI text on the layerContactSheet is not.
In the Beauty Rebuild Passes Section, underneath we have a Material AOV rebuild and a Light Group Rebuild, showing that these passes add up to equal the Beauty.
Please look through the different categories and different Render Engines to familiarise yourself.
Tips and Tricks for making contact sheets
Split Layers
Here are some links to some various Split out layers / shuffle layers python scripts found on nukepedia:
http://www.nukepedia.com/python/misc/split-layers
http://www.nukepedia.com/python/nodegraph/shufflechannels
http://www.nukepedia.com/python/nodegraph/multichannelsplit_v03
Display Postage Stamps in node Graph
You can turn on the Shuffle Node’s postage stamp in the node graph withalt + P for a more visual overview
Make a Text node auto display a Shuffle’s layer name
If you use a Text Node, you can display the layer name of the Shuffle it is connected to by entering the following:
For Old Shuffle Nodes:
[value input.in]
For New Shuffle Nodes:
[value input.in1]
Multi-Paste to Selection
Paste to Selection python script by Frank Rueter on Nukepedia:
http://www.nukepedia.com/python/nodegraph/pastetoselected
W_Hotbox by Wouter Gilsing – which also contains paste to selection button:
http://www.nukepedia.com/python/ui/w_hotbox
Nicer Contact Sheet
ContactSheetAuto tool by Tony Lyons on Nukepedia:
http://www.nukepedia.com/gizmos/merge/contactsheetauto
Multi-connect inputs
To multi-connect inputs on the contactSheetAuto node:
- Select the contactSheetAuto node first
- Next select the inputs in exactly which order you want the inputs to appear
- click the
Ykey and nuke will connect the inputs
Also works on a Merge node, or any node in nuke.