CG Compositing Series – 1.1 What And Why
Download the project files here to follow along:
1.1 What and Why Project Files – Nuke scripts and slides only (1.2 MB)
You can Choose to either download all 3 FruitBowls at once:
FruitBowl_All_Renders_Redshift_Arnold_Octane.zip (1.61 GB)
Or Each FruitBowl Render Individually for faster downloads:
FruitBowl_Redshift_Render.zip (569.1 MB)
FruitBowl_Arnold_Render.zip (562.8 MB)
FruitBowl_Octane_Render.zip (515.4 MB)
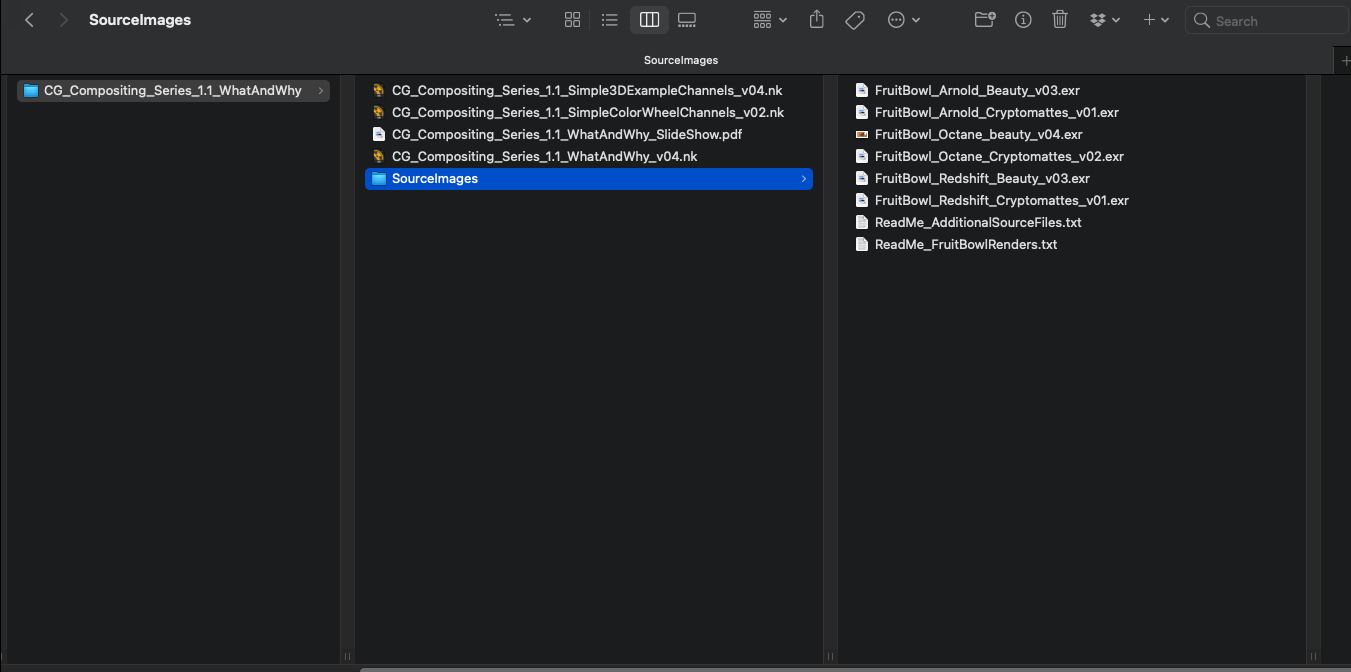
Place the FruitBowl renders files into the /SourceImages/ folder of the project files and nuke will reconnect the read nodes.
What is a CG multi-pass Render?
A CG Render with multiple extra layers or passes that are to be used to recreate the Beauty Render and to aid in further manipulation while Compositing.
Why do we need it?
- Renders are Expensive, and Changes are often necessary. It can take too long to make tweaks and hit notes if you have to re-render the image.
- Sometimes it’s faster to find the “look” you are going for in Comp, rather than waiting for the Render results.
- Some effects are better achieved in Comp and need additional passes to help achieve the effect in Compositing.
Terms and Definitions
Here are some useful Terms and Definitions that I will be using in this series. They are commonly used in the industry, but sometimes they can be confusing or interchangeable, so I will try and define them for us to help while discussing CG Compositing
- Render – The output image or final result of the export calculation from the CG software.
- Renderer – The Render Engine or algorithm used to produce the render.
- Render Passes – A general term for additional layers exported by the CG renderer meant to be used alongside the main render. These might come contained within a multi-pass EXR or be rendered as separate images.
SourceImages and Stamps
- All of the read nodes and source images in the nuke scripts will be located at the top of each nuke script under a “Source Images” Backdrop
- You will need to re-link the files in this area if you are following along
We will be using Adrian Pueyo’s “Stamps” add-on to nuke in order to populate our nuke script with the files in the source image folder.
You can download Adrian Pueyo’s Stamps from Nukepedia:
https://www.nukepedia.com/gizmos/other/stamps
or from GitHub:
https://github.com/adrianpueyo/Stamps
Here is a direct link to the Stamps Online Documentation:
http://www.adrianpueyo.com/Stamps_v1.0.pdf
Different Types of Renderers
Common Renderers
- Arnold
- Redshift
- Octane
- V-Ray
- Cycles/Eevee
- Mantra
- Renderman
- Maxwell
Reference Websites
Websites:
Tool Farm | In Depth: Which 3D Renderer is best?
https://www.toolfarm.com/tutorial/in_depth_3d_renderers/
Render Pool | 10 Best Rendering Software by Price
https://renderpool.net/blog/best-rendering-software/
Blender Guru | Render Engine Comparison: Cycles vs The Rest
https://www.blenderguru.com/articles/render-engine-comparison-cycles-vs-giants
ActionVFX | Which 3D Render Engine Should I Use for VFX?
https://www.actionvfx.com/blog/which-3d-render-engine-should-i-use-for-vfx
Radar Render | Redshift vs Octane Comparison
https://radarrender.com/redshift-vs-octane-comparison/
Ace5 Studios | Render engine comparison – Redshift, Arnold, Octane, Cycles 4D
https://ace5studios.com/render-engine/
Thesis Paper:
Konstantin Holl | A Comparison of Render Engines in Nuke – Thesis
https://www.hdm-stuttgart.de/vfx/alumni/bamathesis/Holl
Videos:
Art Cafe | Grant Warwick about Bias and Differences of 3D Rendering Engines – Youtube
https://youtu.be/UwjVbRYoDZ0
Andrey Lebrov | About RENDER ENGINES – Youtube
https://youtu.be/fAKCwAwIPMg
Default Application Renderers
- AutoDesk Maya – Arnold
- Cinema4D – Redshift
- Blender – Cycles / Eevee
- Houdini – Mantra
Third party plugins
- Octane
- V-Ray
- Renderman
- Maxwell
Most Common Renderers in 2021
- Arnold
- Redshift
- Octane
- V-Ray
- Cycles / Eevee
Renderers used and provided in this series
Rendered from Cinema4D
- Arnold
- Redshift
- Octane
Credits and Inspiration
Inspiration for FruitBowl render:
El Profesor | Research: Blender 2.83 CYCLES vs Maya 2020.2 ARNOLD
https://youtu.be/jyqTAvfC7GI
The still life scene was originally set up in Blender 2.79 with photogrammetry models by Oliver Harries:
ArtStation – Oliver Harries
https://www.artstation.com/olyandros
Oliver Harries Portfolio
https://oliverharries.myportfolio.com/
GumRoad | Free FruitBowl Photogrammetry Model Collection
https://oliver-harries.gumroad.com/l/CZNAS
Chase Bickel provided us with our Fruitbowl Render Scene and AOV renders for Redshift, Arnold, and Octane
Chase Bickel’s Portfolio
https://www.chasebickel.com/
Additional Downloadable Renders
- V-Ray Architectural Scene:
Chaos Group | Cryptomattes post with render
https://www.chaosgroup.com/blog/how-to-use-cryptomatte-render-elements-in-v-ray-for-sketchup
Download link:
https://static.chaosgroup.com/documents/assets/000/000/152/original/Cryptomatte.zip?1581515323
- The Foundry Toolset Examples – Renderman Example Render
Link to the 2GB download package for nukes toolsets content, there you can find the Renderman Example file
http://thefoundry.s3.amazonaws.com/products/nuke/toolsets/toolset_examples.zip
Ways to View Render Passes
LayerContactSheet node
- Shows a grid of all the layers in the input
- LayerContactSheet is the easiest, fastest, and most convenient way to get a visual overview of all the passes contained in your render.
- Turn on Show Layer Names to get UI labels of each pass name. This is only a GUI overlay, so you cannot render it out, it’s just for viewing purposes, but it’s great for identifying the pass names we are looking at
The Viewer
- The Viewer shows an alphabetical dropdown list of channels of the stream where the viewer is plugged into.
- Remember to set the viewer back to RBGA when you are done viewing that layer
- You can use the PageUp PageDown hotkeys to cycle through layers in the Viewer
- Along the bottom left of the viewer, it also lists all the channels separated by commas. It’s good to occasionally look at this part of the viewer to keep track of if you’ve lost your layers from the stream, or you are accidentally carrying layers that you do not need anymore in the stream.
Shuffle node
- The Old Shuffle node will show a list of all layers in the stream which it is plugged into if you use the “in 1” dropdown
- Good way to quickly check what layers are in your stream, but not as visual as layerContactSheet
ShuffleCycleLayers python script:
I wrote a tool called “ShuffleCycleLayers” which you can use hotkeys like Page Up, Page Down or + , – to cycle through the layers of the selected shuffle node, just like the viewer layer cycler. Maybe some people will find this handy if they don’t like to changed the viewer channel dropdown and would prefer to cycle through Shuffle node layers
http://www.nukepedia.com/python/nodegraph/shufflecyclelayers
Difference between Old Shuffle and New Shuffle:
- Old shuffle only displays list of layers within the stream the input is plugged into
- New shuffle displays list of every layer in the nuke script
If you’d like to exclusively use the old shuffle node instead of the new shuffle node, you can add this line of code to your menu.py in your User/.nuke/ folder
nuke.toolbar(‘Nodes’).addCommand(‘Channel/Shuffle’, ‘nuke.createNode(“Shuffle”)’, icon=‘Shuffle.png’)Or, simply type X in the nodegraph and type
Shufflehit enter to get the old shuffle
Splitting or Shuffling out Layers
- Split Layers is a python script that shuffles out all available layers from a selected node
- This will make 1 shuffle per layer all connected to the source.
- You can then just view and toggle between all the layers in the nodegraph
- selecting all and hitting the hotkey alt + p will toggle on the postage stamp feature in all the shuffles, and if you visual thumbnails for all the passes. This can be useful for grouping and organising the passes.
Here are some links to some various Split out layers / shuffle layers python scripts found on nukepedia:
http://www.nukepedia.com/python/misc/split-layers
http://www.nukepedia.com/python/nodegraph/shufflechannels
http://www.nukepedia.com/python/nodegraph/multichannelsplit_v03
Layers vs Channels
- Channels are the individual pieces that make up a Layer, or Channel Set. The most common example is red, green, blue and alpha, channels that make up the rgba layer
- A layer must contain at least 1 channel, but often has multiple channels.
- Nuke prefers layers to have a maximum of 4 Channels per layer, any more and it has difficulty displaying them in the GUI interface
- It becomes significantly more difficult to see the channels beyond 4 that are in 1 layer. Nuke’s interface is built around displaying 4 channels.
- An individual channel in nuke is written as LayerName.ChannelName, to let you know what layer it belongs to
- Depth.Z for example, in which Depth is the LayerName, and Z is the ChannelName
- Whenever there is only 1 Channel, this displays in the viewer as the red channel, since it’s the first channel visible in rgba
- There are also many cases where someone will just refer to it as “The Depth Channel”, where they are recalling referring to the Layer, but since it commonly has only 1 Channel, they are talking about the same thing.
- Some nodes in nuke deal with layers and channel differently, or prefer to deal with one vs the other
- A shuffle dropdown displays LayerNames for example whereas a Copy node displays Channels, and therefore the list is much bigger since it is displaying the individual pieces of the layer
- Blur node “channels” dropdown actually lists layers, and then you can toggle the channels of that layer on/off
- Basically any node with a mask input is dealing with channels since it only needs 1 channel to function
- The first 4 channels of a layer are mapped to, and will display as Red, Green, Blue, and Alpha in the viewer, regardless the actual name of the layer. Any more than 4 channels in a layer and nuke has a hard time displaying them
- A motion pass for example, is describing motion in XY directions. Left-Right and Up-Down. So only 2 channels are needed in the Layer and they display as Red and Green
- A position pass, for example, is usually describing XYZ – 3D space coordinates, and sometimes the channels are actually named x, y, and z. So Position.x, Position.y, Position.z
- Since X, Y, and Z are taking up the first 3 channels in this layer, they will display as red, green, blue
AOVs
- AOVs stand for Arbitrary Output Variables
- Arbitrary output variables (AOVs) allow data from a shader or renderer to be output during render calculations to provide additional options during compositing. This is usually data that is being calculated as part of the beauty pass, so comes with very little extra processing cost.
https://learn.foundry.com/katana/3.6/Content/ug/rendering_scene/define_aov_output.html
- They can be considered ”checkpoints” or “steps” in the rendering process. The render engine splits up many calculations while making the final image (Beauty) and is exporting these smaller steps out to disk so we can combine them and manipulate them in Comp.
- The important thing to take away is the renderer takes these “pieces, these AOVs, and combines them together to form the final Beauty render. We are essentially trying to recreate this process with our CG rebuild, while retaining control over the individual pieces.
- One of the best things about AOVs is we get them “for free” since the renderer was going to calculate them anyway.
- AOVs can sometimes be just a “catch all term” for all layers/passes you will render out
- “What AOVs are you exporting” is a common question, and many 3D applications will use the term AOVs to define any render passes (even though some of them require extra work to get, like ID’s or custom passes)
Differences in the Render AOVs
- All the renderers are essentially doing the same thing. They are crunching the numbers, using different algorithms, and coming up with the math needed to produce the final renders.
- Since all the renders are basically doing the same steps / calculations, you just have to get used to what that renderer chooses to name these AOVs or lighting passes. All the passes will combine together and add up to the final Beauty output.
- There are certain similarities or patterns between all the renderers.
- Sometimes we’ll be looking at 1 renderer while explaining concepts, but they often translate over to the other renderers in some way. So keep an eye out for the patterns described and apply what is being taught to your renderer’s output.
- Our renders have differences in amount of AOVs exported and differences in naming conventions for the AOVs
Rebuild Equations per Renderer
- Arnold AOV Rebuild:
Beauty = diffuse_direct, diffuse_indirect, specular_direct, specular_indirect, coat, sheen, sss, transmission, emissionhttps://docs.arnoldrenderer.com/display/A5AFMUG/AOVs#AOVs-AOVs
- Redshift AOV Rebuild:
Beauty = DiffuseLighting, GI, SpecularLighting, Reflections, SSS, Refractions, Emission- Octane AOV Rebuild:
Beauty = Diffuse_direct, Diffuse_indirect, Reflection_direct, Reflection_indirect, Subsurface_scattering, Refraction, Emitters