BlacksMatch
For those who just want to quickly see what the tool does, I’ll include a time-stamped link to that part of the Demo here:
https://youtu.be/Kw3bcsmkGuk?t=2145
BlacksMatch recreates a Toe operation with merge nodes, meaning you can now plug in an external image are your black color and it will perform the operation taking each pixel’s value into account as the blackpoint.
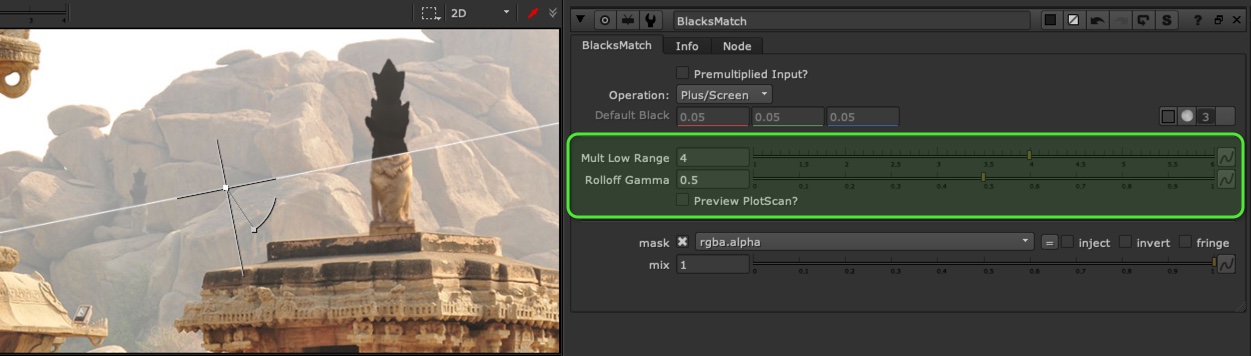
You can control the Multiply, which is how far above the blackpoint the blacks match with stop affecting your midtones and highlights. For example, if you plugged in 0.15 and had the multiply set to 2, then values above 0.3 remain unaffected.
The “falloff” or Gamma control just controls the falloff of the curve into your blackpoint color. if it’s really high, it will act more like a screen or plus (still ending at the blackpoint color times your multiply control), and if it’s really low, it will act more like a clamp. Your blackpoint will not ever fall below your input color while you manipulate the curves.
There is a preview plotscan button that helps you visualize how your curve is behaving with your settings. Just move the plotscan picker around and it will sample your blackpoint color at that area and give you an overlay of your curve. (Don’t forget to turn it off when you are done)
I personally think this is a tool every comper should have in their toolkit, as it’s by far the most controlable way to match your blacks properly!
The settings of the BlackMatch Tool and a wipe from the tutorial:
There is a full video Tutorial about the BlacksMatch workflow, along with a Tool Demonstration at the end. If you want to know how I made it and whats going on under the hood, please watch the whole video. It might give you some ideas of how to re-think your matching blacks workflow.
Here is the Flow Chart for the Blacks Match Workflow:
Our goals are:
1.) Nothing should fall below the blackpoint value
2.) The blackpoint should affect the mids/highs as little as possible.
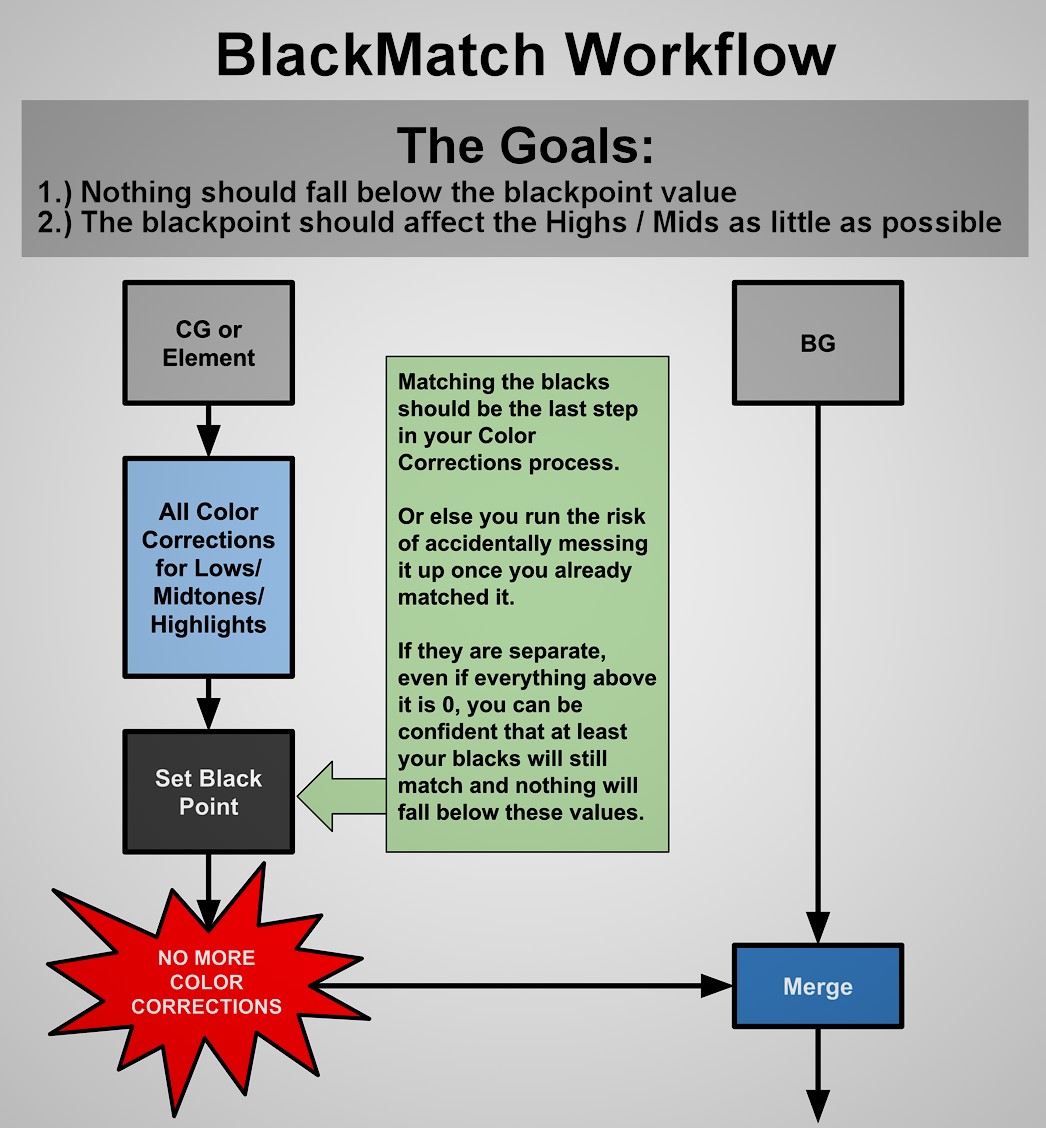
The Most important thing to remember is to try and not adjust any color corrections after you apply your blackpoint.
Here’s a few examples of the importance matching blacks can be to your image:
Here is a picture with just some beauty rendered statues, color corrected and placed into our scene, no blacks match… stands out quite a bit:

Here is a before picture is we just turn off all the color and detail and just place “pure black” statues into our scene:

If we start sampling the colors around the surrounding areas of the statues and applying theses as our blackpoint, still ignore any midtone/highlight color or detail. We can actually see our statues are fitting in quite nicely. You can think of it like “if there were pure black objects in my scene in that area, what would it look like?” and we are getting pretty decent results:

And here is the image with our matched blacks properly combined with our midtones and highlights. But there is a lot of operations used to combine the blackpoint with the midtones and highlights. So let’s take a look at all of them, and study the best way of combining these:
For the second part of our goal, the blacks should affect our midtones and highlights as little as possible. We have to look at different operations of how to apply our blackpoint:
Here’s some graphs comparing the most common operations of how to match the blackpoint and what they are doing to a 0-1 curve.

Here’s a closer look at the curves next to each other:
Here is just an overlay of all the curves on top of each other to compare them to one another:
Here is a close up of a Clamp operation:

Here’s a close up of the plus operation:

Here’s an example of a Screen operation:

A close up of a Hypot operation:
A close up of a Toe operation:
Let’s now talk about the Good, the Bad, and the Ugly… starting with the bad:

A screen and lift do a sililar operation between 0-1, but the screens influence stops at 1, where as a lift is actually using 1 as a pivot point to lift the blacks and lower the highlights above 1. If you set a lift to 1, it will completely decontrast the image, sandwiching every pixel and turning the entire frame to 1.


No matter if you leave a color correct at default range, or start adjusting the range curves, the color correct produces some very strange results because of the S-curve it generates. Because it is sampling the luminance from the bg image, if you enter a black point number higher than the luma key it is calculating, than the curve will first be your black point color, then dip back down to the midtone color and rise back up to your highlights. This creates a really strange image that you’ll want to avoid.
Avoid Lift on a Grade, and avoid ColorCorrect nodes for adjusting your blackpoint.
The Ugly:
Both Clamp and Plus are at the Extremes of our operations, and have the least appealing qualities. You can acheive much more control and better operations using our remains screen, hypot, and toe operations. Here is the gif of the curves compared to one another again so you can see that clamp and plus are at the extremes:

Screen and Hypot are perfectly fine operations, but offer limited control. and Toe… Well we can’t even input an image, and we don’t even know what exactly it is doing. There’s very little documentation on it. Let’s try to reconstruct it:

With a little bit of fiddling around. We can see the top of the toe operation is exactly double the value of the blackpoint… We need to start by re-creating a screen, which is basically an inverted luminance key, used as a mask, that is plusing out blackpoint. From there we can create a screen operation that instead of end at 0-1, ends at 0 to 2x the balckpoint value, and you can see in the example above we have a mini triangle encompassing our toe operation. There it’s a matter of using a gamma of 0.5 on the luma-key mask and we have our toe.
So to reiterate:
A toe is an inverted luma-key, that instead of 0-1 is 0-‘2x the blackpoint color’ and then is gammed by 0.5 and is used as a mask to plus the blackpoint color over the image.
I know… that’s a mouthfull. But what we take away from making this toe for ourselves is that we have controls over 2 things. The multiply of how far above the black color it is affecting our midtones and highlights. And the gamma curve that is controlling our falloff of the curve towards the blackpoint value.
With this knowledge and math, we can create a tool that uses merges to do our math operations, which mean me can plug in an external image as out blackpoint and expose controls for the mult (above the blackpoint) and gamma (falloff) of the curve. And now we have our BlacksMatch tool.
Download the tool from Nukepedia here:
http://www.nukepedia.com/gizmos/colour/blacksmatch_20
Or download the tool from my github, where you can find a repository with all my tools in one place:
https://github.com/CreativeLyons/Lyons_Tools_Public/blob/master/05_Color/BlacksMatch.nk
I’ve received a few requests for the script and images I’ve used in the tutorial, so I’ve put together a folder on my dropbox for you guys to download and play around with.
This is a preview of the part of the script I am saving for you. It includes the statues over the temple example, a couple of the simple shapes over complex black level images, and the part of the script that I recreated the toe, with the animating graph.

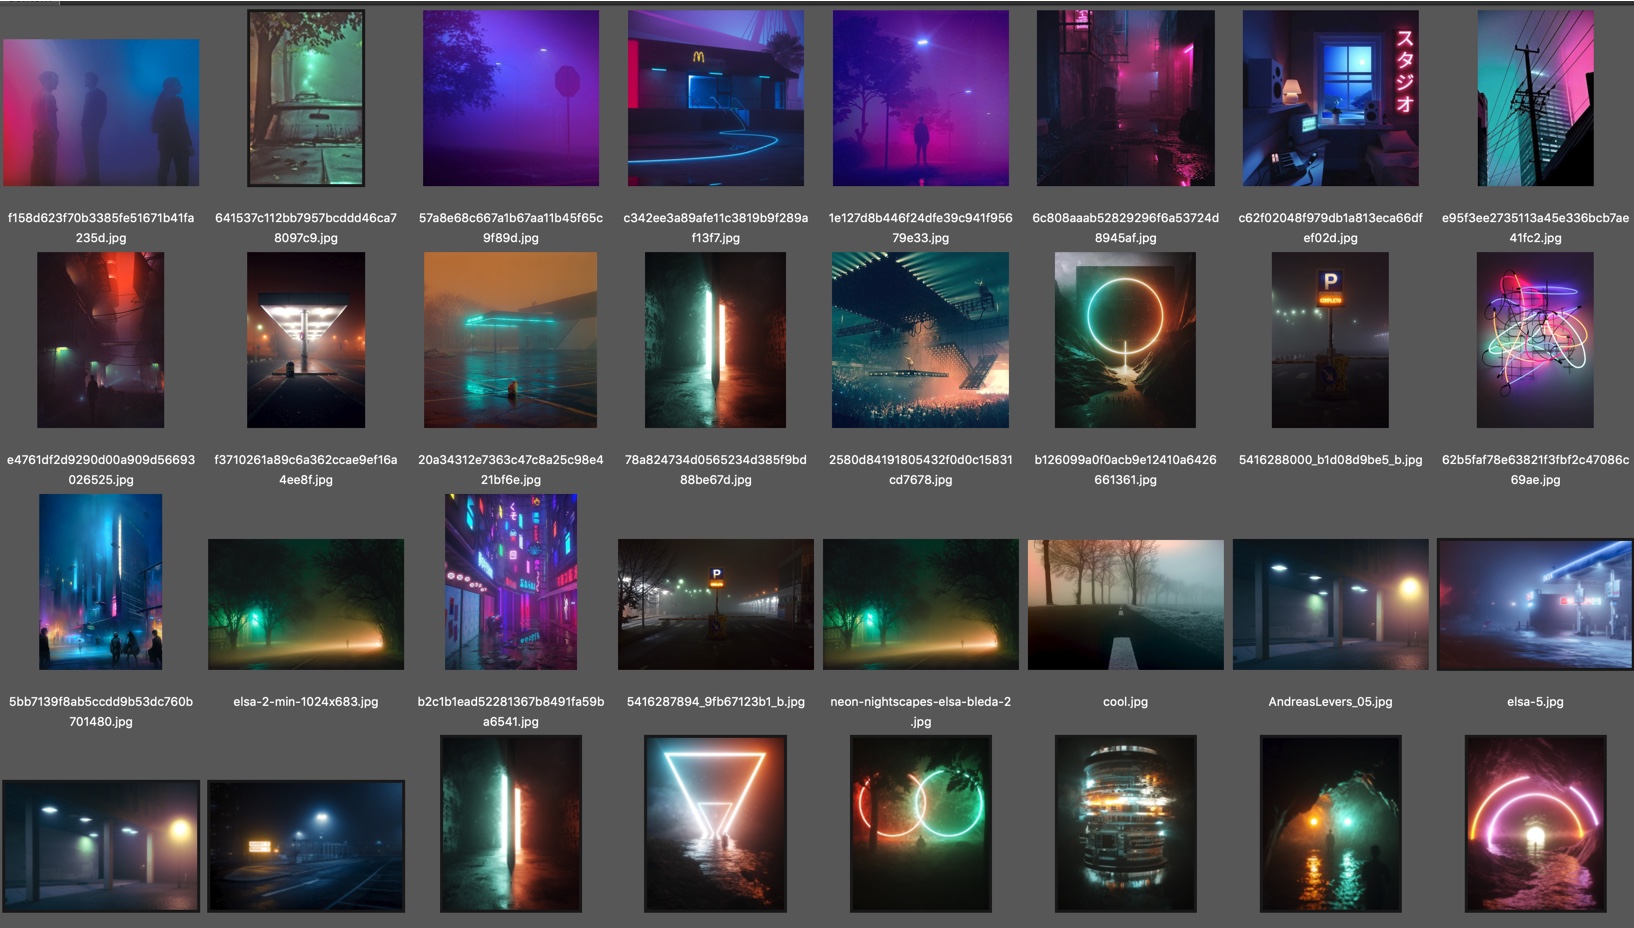
I’m also adding a reference image folder, with some of the cool hazy/foggy complex black point images I found while researching this topic. Maybe they will be good practice for you to bring into nuke and play around.
Finally I am adding in the original statue exr render, with some passes: beauty, depth, position, and normals, in case you want to try and color correct and match the statue render into any of these images or your own backgrounds. Thanks to Ernest Dios for the render.

Here is the dropbox link to the project files:
https://www.dropbox.com/sh/p47aquatmp1cai7/AAAnt_Lr4slT2RmK5znV50L3a?dl=0


