CG Compositing Series – 1.0 Introduction

For a long time I wanted to release a CG compositing series. Many things stopped me in the past:

  1. Time constraints
  2. Access to good Render examples to work with
  3. Not thinking I had too much to contribute to the subject matter

This series will be focused on answering the following question

How do I best rebuild my CG passes, for the most flexibility as a Compositor?


Download the FruitBowl Renders for the Series

My Friend and fellow artist, Chase Bickel, has kindly provided us with some high quality renders of a FruitBowl to download for free and play around with.


Download the FruitBowl renders now, or I will always post the links at the top of each video and blog post for you to download later:

You can Choose to either download all 3 FruitBowls at once:
FruitBowl_All_Renders_Redshift_Arnold_Octane.zip (1.61 GB)

Or Each FruitBowl Render Individually for faster downloads:

FruitBowl_Redshift_Render.zip (569.1 MB)

FruitBowl_Arnold_Render.zip (562.8 MB)

FruitBowl_Octane_Render.zip (515.4 MB)

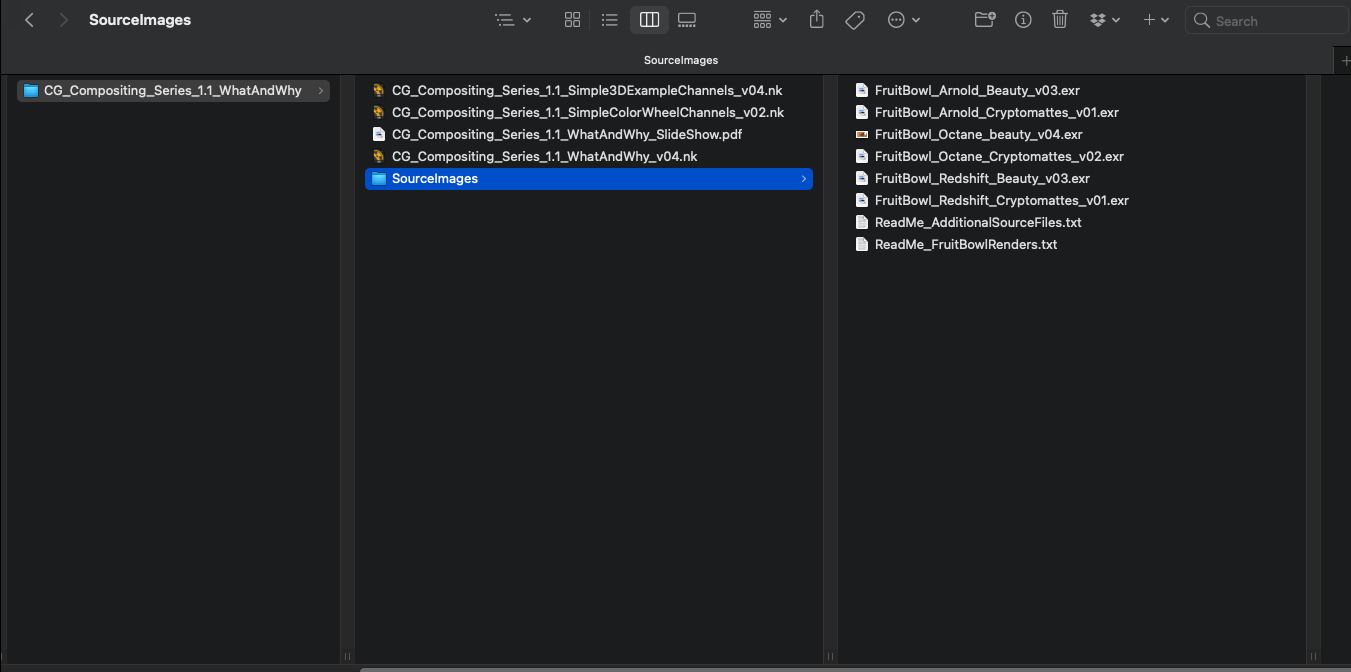
You can place the FruitBowl renders files into the /SourceImages/ folder of the project files folder accompanying each video and nuke will reconnect the read nodes.

For Example:


These Renders are full of common passes you would find in production, including:

  1. AOVs
  2. Lightgroups
  3. IDs
  4. Utility

Gameplan

Start with the Basics –> Build our way to more advanced topics –> End with a proposed template for your CG Rebuild


I will go through different types of AOV passes you would typically find at a studio, what they are, how they are used, and how should think about them in relationship to one another. We will categorise and group different AOVs in order to define them better, and help us find the commonality and patterns between renderers.

This series aims to be useful no matter what renderer your CG comes from, as the principles are the same.

Topics Covered

  1. Differences between Additive and Subtractive Workflows, and the pros and cons of both
  2. Explaining the difference between Material AOVs and LightGroups and how to work with them together seamlessly
  3. This includes an elegant solution to the infamous AOV – Lightgroup paradox
  4. I will cover the importance of making Mattes and alphas, to help us isolate, and automate our CG manipulation. We will go over common utility passes and IDs and show how to do some cool things with them

Using Full CG Render

  • Will not cover how to integrate CG renders into a live-action plate
  • Will focus on the CG rebuild and various methods of manipulation to get the most out of your CG renders

Something for everyone

  • Juniors, Mids, Seniors, TDs, Comp Supervisors
  • There will be knowledge to be learned across all levels
  • Perhaps this will one day be a pre-requisite for a full CG Compositing into live-action plate course

This series will take some time to release all episodes, so please have patience

Thank you!

Tony

GradMagic Tool

GradMagic is an interactive 4 point gradient tool, which can link to cornerpin nodes, and can toggle between live sampling from the plate or baking the color values of the corners.

Can be used for various tasks in prep and DMP,or if you just need a quick 4 point gradient map.

GradMagic_Properties_Screenshot.png

Quick Overview of the properties:

It’s pretty straight forward, heres some basic written steps:
1.) Set your cornerpoints manually or by pressing one of the ‘snap to’ buttons.  Or alternatively you can link or bake your cornerpoints to an existing cornerpin node (or any node with 4 “to” knobs).

2.) If you need to adjust the points once they are baked/linked/ in place, then show the adjust knobs, set the reference frame to snap the adjust points near the main points, and you can then move each cornerpoint while it still retains its animation path.

3.) You can either keep the node live, bake the corner colors on a single frame, or bake the colors over a framerange.  once baked you can adjust the cornerpoints further if you need to cover up more area.  You can adjust the ‘sample size’ at the top if you want to average more colors under each corner point.

4.) Finally you can apply a blur to the edges to help with transition, and you can select the output at the top, whether to show the gradient over the BG input, or just the gradient itself.

Hope you find it useful

A full tutorial video on how to use the tool can be found here on youtube:
https://youtu.be/oge8jMR0LRw

Or here on vimeo:
https://vimeo.com/341514150

Download the tool from nukepedia with this link:
http://www.nukepedia.com/gizmos/draw/gradmagic

You can also download GradMagic from my github link:
https://github.com/CreativeLyons/Lyons_Tools_Public/blob/master/02_Draw/GradMagic.nk

Stay tuned for more tools and tutorials.

Advanced Keying Breakdown: 4.1 – Template

0:00 – Introduction
4:30 – CC and transform after key
6:49 – CC and transform before key
12:03 – Advanced Keying Template flowchart
15:25 – Advanced Keying Template
40:10 – Advanced Keying Template Compressed
40:55 – Advanced Keying walkthrough script
41:59 – outro


Hey guys,

Sorry for the long overdue tutorial wrapping up this keying series. Here is the advanced keying template video, along with a flowchart and download link to the template scripts, which you can save to your toolsets for your own use in your nuke scripts.

advanced_keying_template_flowchart_3

Here is the Template Flow Chart from the video for you to download and review:

Here is the download to the Advanced Keying Template Package:

Advanced Keying Template Package Download

Or download from Nukepedia

Package contains:
Advanced_Keying_Template_v06_.nk
Advanced_Keying_Template_Compressed_v06_.nk
Advanced_Keying_Template_Walkthrough_v01_.nk


Some of you have asked for source materials for keying practice.  I can provide you with a few free downloads so you can practice.

https://www.thefoundry.co.uk/support/user-guides/#nuke  – download the nuke keying assets

http://www.thefoundry.co.uk/products/nuke/learn1/ – scroll down to 2d compositing | Compositing Basics.  Click on the link that says Download Assets for Basic Workflows (535 MB).  Here you will find the girl and desert  BG found in this tutorial.

https://mango.blender.org/ – Tears of steal open source project.  Free 4K footage for people to download and practice.  Highly recommended.  scroll down to the blog post called ALL 4K FRAMES – NOW AVAILABLE ON XIPH.ORG.


Finally, I want to thank everyone for your continued support, views, shares, comments, and emails.  It all means a lot to me and you’ve certainly motivated me to keep going. Thank you.

As always, if there are any questions, just leave a comment or shoot me an email and I will try my best to respond.  Hopefully with this series of tutorials, and now this template, you guys will be fully equipped to handle even the toughest of keys.

Until next time!

Advanced Keying Breakdown: DESPILL 2.1 Initial Concepts

0:00 intro
0:40 what is despill?
3:40 Separating the Despill process from the Alpha process
7:33 Core Despill and Edge Despill

Hey guys,

I’m going over the first section of Despilling.  I talk about what despill is, why you need to remove it,  how it should be separated from the alpha process, and combining core and edge despills.

The 2 main goals of despilling are:

1.) Removing any spill while still maintaining the original colors in the plate
2.) Blending the subjects edges with a BG colors

http://nukestation.com/vkeyer-tutorial/

Here is the link to a great despill tutorial which goes over blending BG colors using the difference matte of a despilled plate –> to the original plate.   If you are new to the concept of blending your despill with the background then you are really going to like this video.  He talks about flame in the beginning of the video and switches to nuke later.

Thanks for watching, next I’ll go over how to achieve and control the despill to get what you need.

– Tony

Advanced Keying Breakdown – ALPHA 1.1: pre-processing the GS


Here is the first part in the advanced keying series.  I’ve started with the ALPHA section, and made a custom slide for just ALPHA, where you can see the many topics I plan on covering in future videos, but for now I am just covering 1.1 Pre-processing the Green Screen.  Here is the slide for ALPHA:

Advanced Keying Breakdown_ALPHA_detail_v01

It’s a long video, but it’s full of useful tips and techniques.  I recommend watching the whole thing if you get a chance, but if you’re in a rush and want to skip to certain sections here are the Timecodes for you:

0:00 Intro

1:12   Denoising

5:56  Colorspaces

13:11 White Balancing

21:28 Saturation

25:33 Evening out the GS

35:21 Outro Recap

here is the Neat Video plugin website I mentioned for reducing noise on an image:

http://neatvideo.com/

here is the link to some keying tutorials from nuke station for you guys to look through if you need them, most all of them are excellent:

http://nukestation.com/category/keying/

Please guys, I know I covered a lot but if you have any questions, or if you would like me to do a written recap on all the sections here in this blog post, please just let me know and I’d be happy to write it up for you.   Leave a comment with any questions, or if you think I messed something up, or if you’d like to contribute to the conversation and have anything to add to this tutorial.  I enjoyed putting this together and look forward to the rest of the keying tutorials I plan on putting together.  Please share if you learned something =)

Cheers,

Tony

CompositingMentor.com Online!

Hi everyone,

I have some exciting news!!

The blog is now CompositingMentor.com

A new name accompanied with some new tutorials to christen the site.

It’s been a few months, I’ve been working hard both at work and on side projects, one of which is the daunting task of categorizing and analyzing all of the gizmos and tools on Nukepedia.com.   I came up with a good workflow to check the tools, and I am going 1 category at a time, but it is pretty time consuming.

I’ve also been working on an Advanced Keying Breakdown, which I will be posting for the next month or so.  It is very in depth, more than I have seen from any other keying tutorial yet.  It focuses on the concepts and techniques of keying, rather than specific tools.

If you like what you have been seeing on this website, please share with others, I’d like to get these tutorials out to anyone who needs them.  Thanks!
Without further adieu,

Welcome to CompositingMentor.com